Shallow Dream Users Guide
The first thing to understand is that dreaming takes time. Processing a single image takes ~30 minutes, though that can vary greatly depending on the speed of your computer, the size of the image, and how detailed/precise you want the final results to be. For that reason, Shallow Dream is setup to process images in batches, so that you can queue up a set of images to process while you do other tasks (or sleep). Here is the main interface. The controls are on the left, the results are in the middle, and feedback is at the bottom: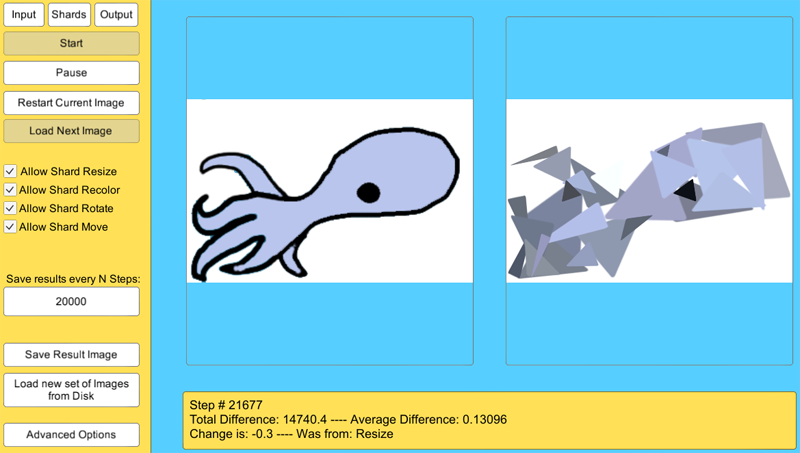
Controls
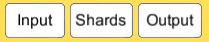 These buttons open the folders that contain the input images, the shard images, and the output images respectively. You place all the input images you want to process in Input Folder. You place all the Shard images into the Shard folder. And as the program runs, it will fill up the Output folder with the results of the run. By default Shallow Dream will save its intermediate results, since in some cases you might like the less processed images better than the completely processed final result.
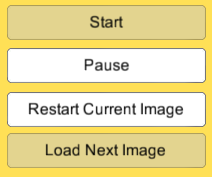 The Start button will begin processing the current inputs, or will resume processing if you have paused the run. The pause button ... pauses. The Restart button will clear the work on the *current image*, and then start processing the current image from scratch. The Load Next Image button will load the next image, if any, from the Input Folder and start processing this next image.
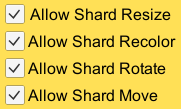 These options let the program know which operations it is allowed to use when modifying the Shards to fit the image. In most cases you will want to allow all the operations. If you want special effects though it can be helpful to disallow some of the operations. For instance, if you don't want the result to match the color of the original as closely, you can disable the color operation and the output will then be more parti-colored & varied in its colors.
 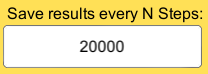 Controls how often Shallow Dream will save intermediate results to the Output directory. The default settings will save intermediate results ~10 times per run.
 This button will save the current result iamge to the Output folder. In addition, Shallow Dream will save a text file describing the position, rotation, size, etc. of all of the Shards in the result image. This text file can then be used to import the Shards into Unity later on, if you desire.
 This button will completely end the current run. New Input images and Shard images will be loaded from the Input and Shard folders, and a new run will be ready to begin.
Tips for best results:
- The Shard image(s) are important! They will determine the style of the result image. Generally speaking, Shards should usually be small, repeatable, and able to rotate in any direction.- The Shard image(s) are important! They will determine the style of the result image. Generally speaking, Shards should usually be small, repeatable, and able to rotate in any direction.
- In most cases the Shard image should be either pure white or on a gray scale. This way the Recolor operation will work correctly, and the Shards can be re-colored to match the Input image. The only time you will really want color in the the Shard image is if you have disabled the Recolor operation, indicating that you always want to use the Shard's starting color.
- Some shard images will look bad if their X and Y scales are differet. For instance, a gear image would look weird if its X scale was 1.0, and its Y scale was 3.0. For Shards like this, you can click the "Preserve Aspect Ratio" toggle, so that the X and Y scale will be kept in sync. The Shard will still be scaled up or scaled down, but the X and Y scale will be the same.
Unity import guide:
When Shallow Dream saves results, it will save a an image of the result, as well as a .txt file describing the Shards that are used to create the result. Using this .txt file, you can then import the individual Shards into a Unity project, so that you can edit individual Shards or add effects to them. To import the Shards is a 3 step process.1) Import the ShallowDream package into your Unity project. This will create the folder "Resources/ShallowDream", and will add an Editor Script that will give you new options in the Unity Editor.
2) Move the .txt files from your Output folder to your "Resources/ShallowDream" folder.
3) In the Unity Editor, click on ShallowDream->ImportShardsAsImages. This will take the .txt files in the Resources/ShallowDream folder, and translate them into Images that are parented to your main Canvas.
As an optional 4th step, you can modify the importer code to add effects to the Shards as they are imported. This can be an easy way to add effects to all the relevant Shards. The importer code is in the script "ShardImageLoader.cs". The method "AddEffectsToImageShard" is called on the GameObject for each Shard. By default the method is empty, but you can fill in the method to add the effects you want.